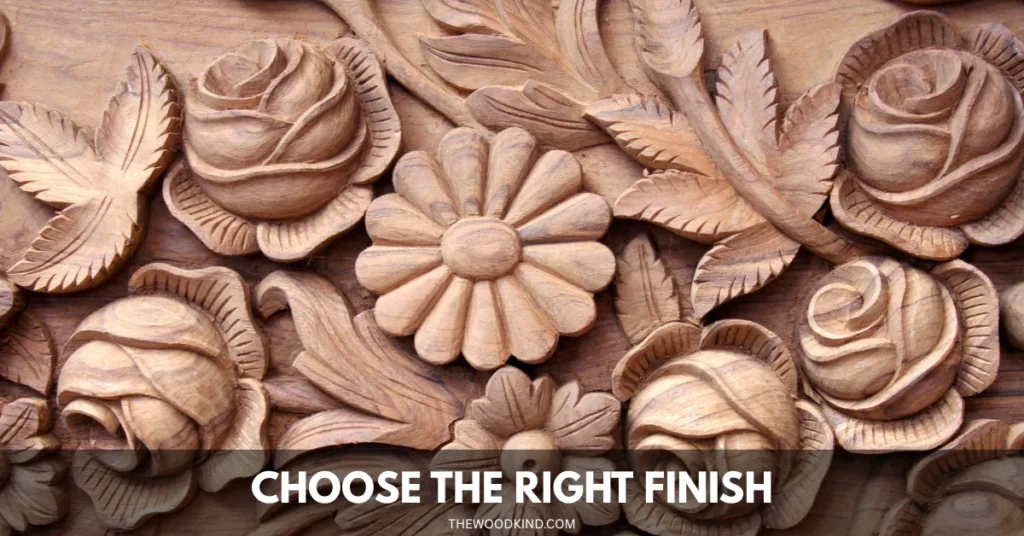
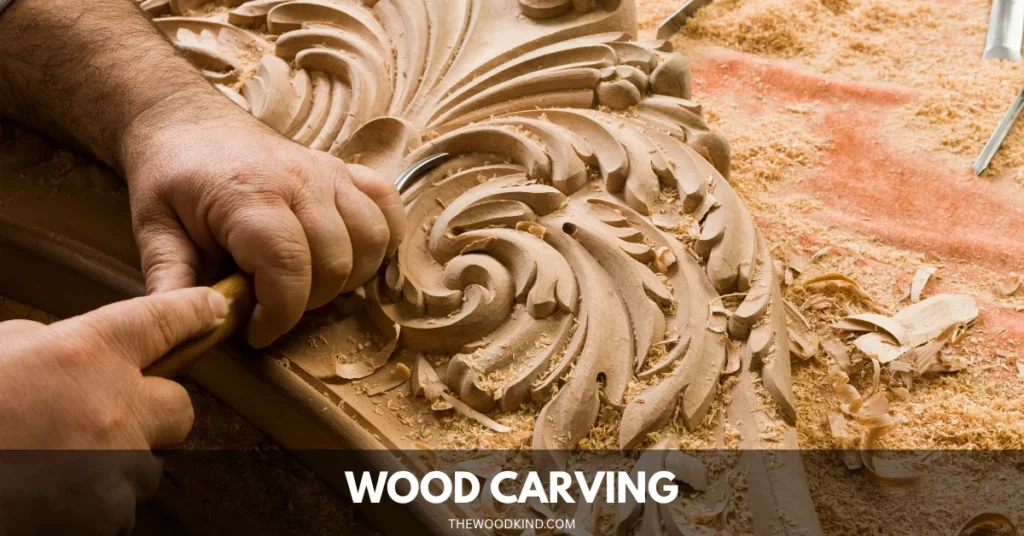
How to Finish Different Wood Types for Carving
Finishing transforms a simple wood carving into a lasting work of art. Using the right techniques keeps your work safe and makes it look even better, so your carvings stay beautiful for years.
This guide covers everything from choosing finishes to application tips for flawless results.
Why Finishing is Essential
A quality finish does more than just make your carving look good.
- Creates a protective barrier against moisture, dirt, and wear
- Enhances the wood’s natural grain and color
- Prevents cracking and warping over time
- Makes the surface more pleasant to touch
Without proper finishing, even the most detailed carvings can deteriorate quickly.
Choosing the Right Finish
Oil Finishes
Ideal for highlighting natural wood beauty, oils like tung, linseed, and Danish oil penetrate deep into the wood.
They’re perfect for decorative pieces and bring out rich, warm tones. Apply with a cloth, let soak for 15 minutes, then wipe off excess.
Wax Finishes
For a soft, matte look, waxes like beeswax or carnauba provide subtle protection. They work especially well over oil finishes and give carvings a smooth, natural feel.
Protective Sealants
When durability matters most:
- Polyurethane for heavy-use items
- Shellac for quick-drying protection
- Lacquer gives a strong, professional finish. Just be careful not to use too much, or it can look too shiny.
Specialty Finishes
- Food-safe oils for kitchen items
- Outdoor sealants for weather resistance
- Paints and stains for colored effects
Step-by-Step Finishing Process
- Prepare the Surface
- Sand progressively from 120 to 220+ grit
- Remove all dust with a tack cloth
- Apply the First Coat
- Use a brush, cloth, or spray
- Work with the grain
- Allow Proper Drying
- Wait the full recommended time between coats
- Sand Between Coats
- Lightly use 320+ grit for smoothness
- Final Buffing
- Polish with a soft cloth for a perfect sheen
Finish Selection Guide
| Project Type | Recommended Finish |
| Decorative pieces | Oil or wax |
| Frequently handled items | Polyurethane |
| Outdoor carvings | Marine-grade sealant |
| Kitchen utensils | Food-grade mineral oil |
| Painted designs | Acrylic sealer |
Pro Tips for Best Results
- Always test finishes on scrap wood first
- Work in a well-ventilated area
- Store oil-soaked rags properly (fire risk)
- Consider the carving’s final location
- Multiple thin coats beat one thick coat
Common Mistakes to Avoid
- Rushing drying times
- Applying a finish to dusty surfaces
- Using the wrong finish for the project
- Neglecting to sand between coats
- Overlooking end-grain absorption
Final Thoughts
Mastering finishing techniques elevates your wood carving from hobby to art. With the right approach, you’ll protect your work while making the natural beauty of the wood shine.
Remember – patience during the finishing process pays off in stunning, long-lasting results.