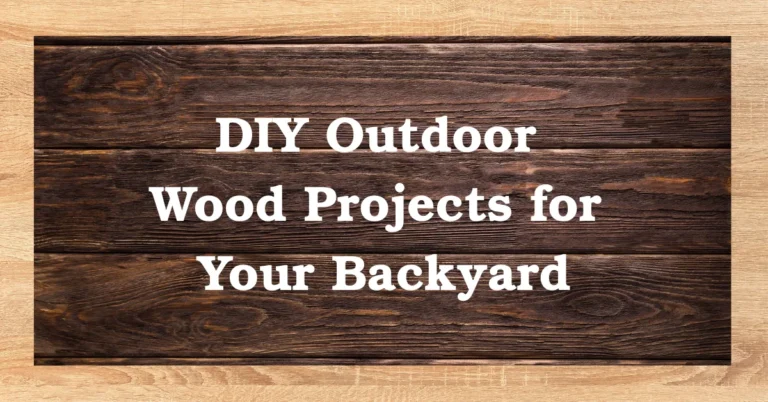

3 Easy DIY Holiday Projects You Can Make This Weekend
The holiday season is about warmth, togetherness, and the joy of creating memories, often with a sprinkle of creativity.
Whether you’re new or experienced, making your own holiday gifts and decorations feels special and fun.
If you’re looking to add a personal, handmade touch to your festivities, these three easy DIY holiday projects are perfect for a weekend of crafting.
Not only are they simple and fun, but they’re also a wonderful way to involve the whole family and create keepsakes that will be cherished for years to come.
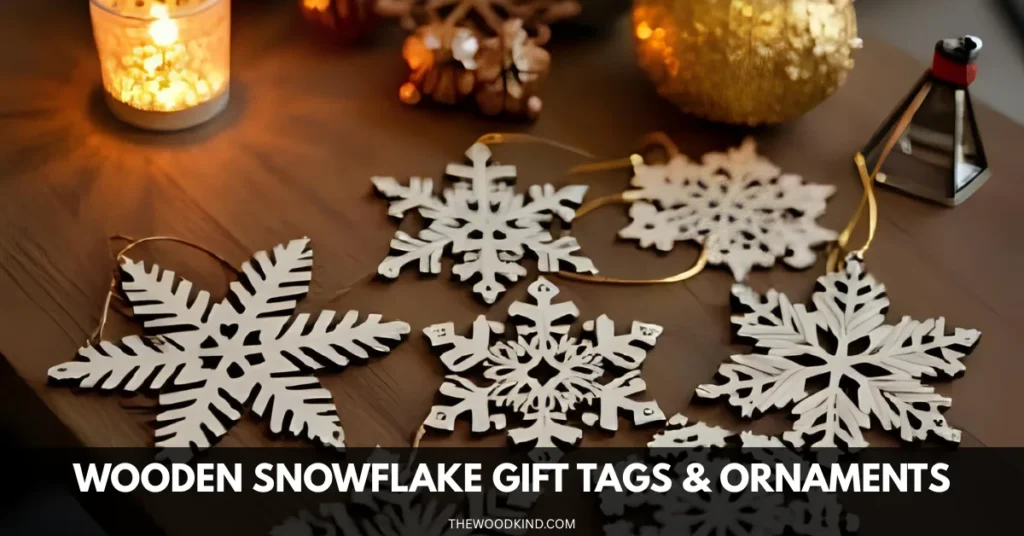
1. Wooden Snowflake Gift Tags & Ornaments
Few things say “holiday magic” like the delicate beauty of a snowflake, with just a bit of thin plywood or craft wood.
You can make cute snowflake gift tags that also work as ornaments. They make your gifts look special and can be saved to hang on the tree.
How to Make Them:
Start by sketching or printing out a few snowflake patterns. If you have a scroll saw or even a simple craft knife, you can carefully cut out these intricate shapes from your wood.
Don’t worry if they’re not perfect, each snowflake is unique, after all! Once cut, sand the edges smooth for a splinter-free finish.
Now comes the fun part: personalization. Use a wood burner, paint, or even a permanent marker to add names, dates, or a festive greeting to each snowflake.
This is a great way to make each tag feel special and tailored for the recipient. Drill a small hole at the top, thread through a ribbon or twine, and you’re ready to attach it to a gift or hang it on the tree.
For a little extra sparkle, lightly spray the finished snowflakes with a clear glaze or add a dusting of glitter.
Not only will these tags make your gifts look gorgeous, but they’ll also serve as reusable ornaments for years to come, a true win-win.
Pro Tip: If you’re short on time, you can buy pre-cut wooden snowflakes at most craft stores and simply decorate them.
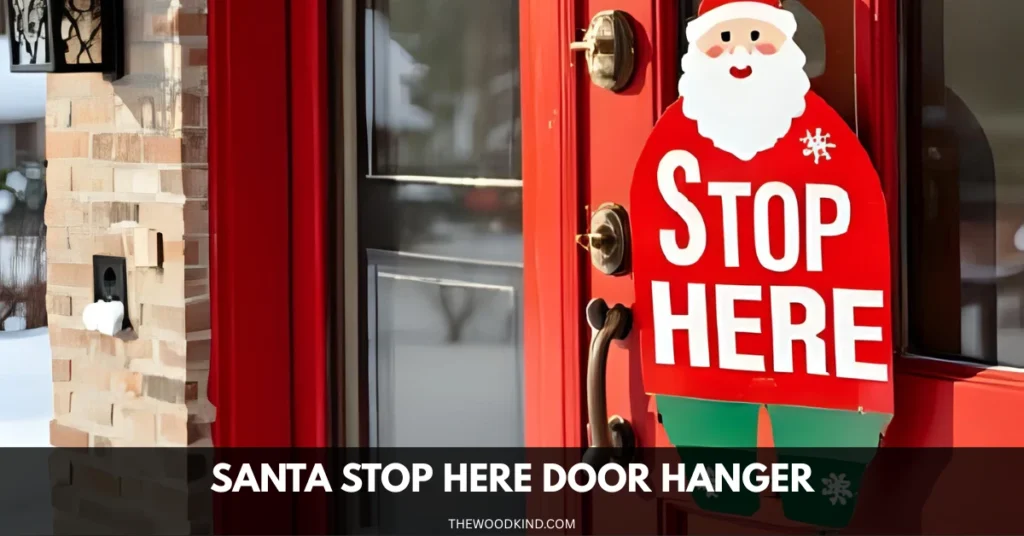
2. Santa Stop Here Door Hanger
Bring a touch of magic to your home with a cheerful “Santa Stop Here” door hanger.
This fun project is great for families with kids. It helps build excitement for Santa and adds holiday cheer to your front door or a child’s room.
How to Make It:
Begin with a small piece of wood or MDF (medium-density fiberboard). Cut it into a classic door hanger shape – a rectangle with a rounded top and a hole for the doorknob.
If you don’t have a saw handy, many craft stores sell blank door hangers ready to decorate.
Sand the edges for a smooth finish, then paint the hanger in bright holiday colors.
Red, green, and white are always festive, but don’t be afraid to get creative with blues, golds, or even a snowy silver.
Once the base coat is dry, use a stencil or freehand to write “Santa Stop Here!” Add the family name or your child’s name for a personal touch.
You can decorate your hanger with painted snowflakes, stars, or small wooden shapes like Christmas trees, candy canes, or a tiny sleigh.
A coat of clear varnish will protect your creation and give it a lovely sheen. Hang it on your door and let the countdown to Christmas begin!
Pro Tip: Let your kids help with painting and decorating. It’s a wonderful way to make memories and get everyone excited for the holidays.
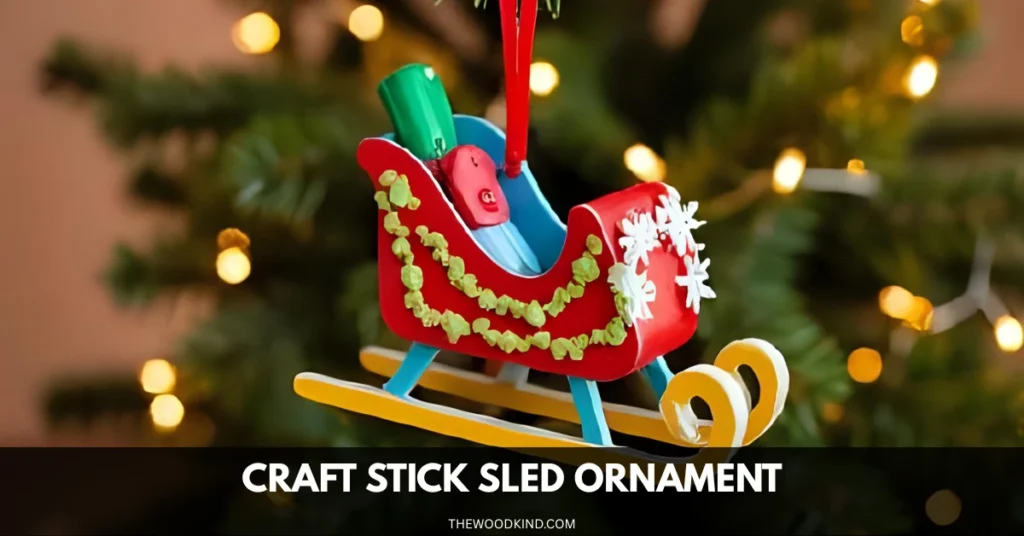
3. Craft Stick Sled Ornament
There’s something undeniably nostalgic about a classic wooden sled. With just some popsicle sticks, you can make cute little sleds. They’re great for your tree, gift wrapping, or as small handmade gifts.
How to Make It:
Lay out two craft sticks parallel to each other for the sled’s runners. Glue several sticks across them to form the seat – three or four is usually enough. For extra detail, you can add a shorter stick across the front as the sled’s handlebars.
Once assembled, paint your sled in festive colors. Traditional red is always a hit, but you can also go for icy blues, forest greens, or even a rustic wood stain for a vintage look. Add stick-on jewels, buttons, or a sprinkle of faux snow for decoration.
A loop of ribbon or twine glued to the top makes it easy to hang your sled on the tree.
These sled ornaments are quick to assemble and endlessly customizable.
You can make a whole batch in an afternoon, each one with its own personality. They’re also a fantastic project for kids – just supervise the gluing and painting for younger crafters.
Pro Tip: Personalize each sled with a name or the year using a fine-tip paint pen for a keepsake that marks the memory of this holiday season.
Tips for a Successful DIY Holiday Crafting Weekend
- Personalize Everything: Add names, dates, or messages to make each item more special and easy to remember.
- Quality Finishes: Use clear spray glaze, varnish, or even a touch of glitter to protect and enhance your creations.
- Bundle for Gifting: Pair ornaments or tags in sets, or create a themed gift set (like a sled ornament with a hot cocoa packet).
- Get Creative with Embellishments: Add buttons, ribbons, glitter, or tiny items to make your project look special and one of a kind.
- Involve the Family: Crafting together is a wonderful way to bond and create lasting holiday traditions.
Conclusion
You don’t need a workshop full of tools or weeks of free time to create beautiful, heartfelt holiday décor and gifts.
These three easy holiday crafts – snowflake tags, a Santa door sign, and popsicle stick sleds—show that simple ideas can be really fun and creative.
In just one weekend, you can fill your home with festive cheer, make cherished memories, and give gifts that come straight from the heart.
So gather your supplies, put on your favorite holiday music, and let the crafting begin. Happy holidays and happy making!